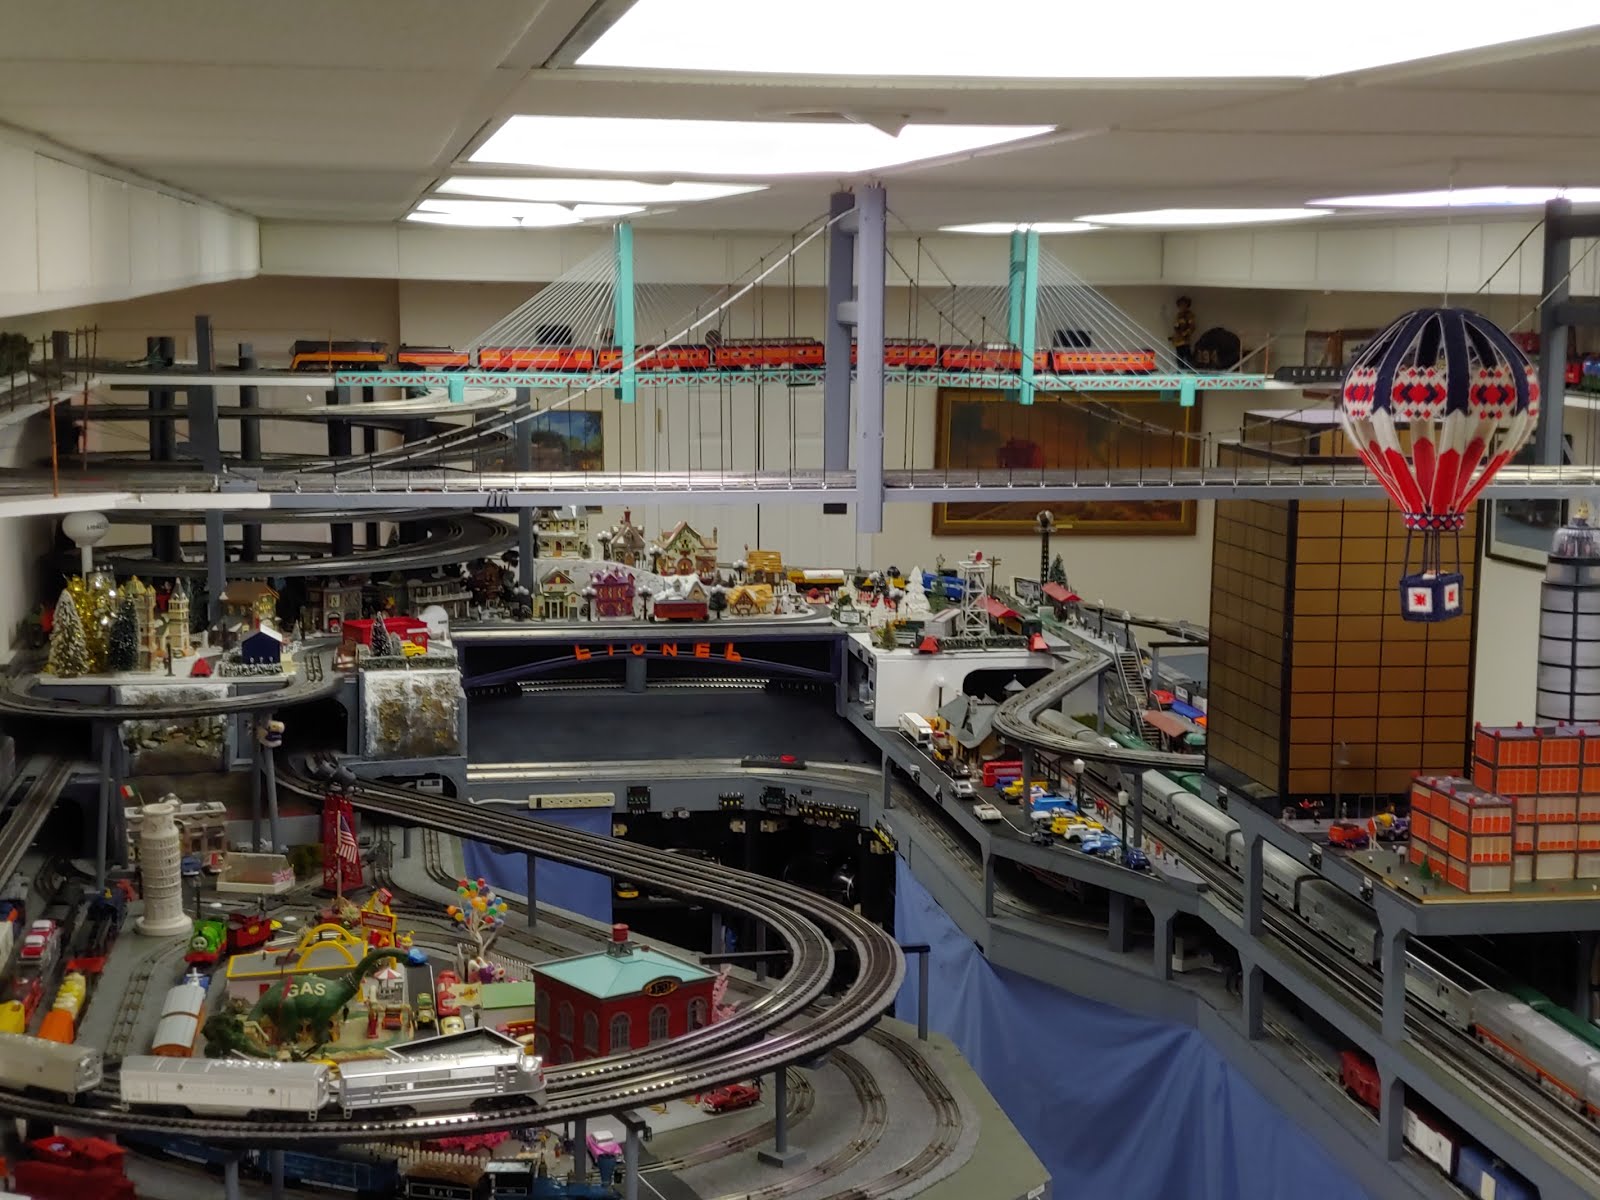
Sunday, September 11, 2011
NTS&B Tunnel Signal
Another thing thats a lot of work, with very little progress indication was the tunnel signal. These LEDs use the same circuit as the Subway signals, but are wired differently to limit the number of wires to the power and track points. The LEDs are put in sockets robbed from an old Christmas Light set.


Friday, September 2, 2011
NTS&B Starting Year 5
Its hard to believe that I started the first (non helix) module of the actual layout 4 years ago. Last year didn't see a lot of progress. I mainly worked with adding buttons for lighting, and trying to finish up the Helix end of the layout when you first come in the door.
The old layout down was torn down, and parts are now in use in Tennessee. I also worked on the TMCC signal some and it is working fairly well on the Helix loop, but not so well else where. The Lego subway was installed, and the walls and lights were put in on the Helix end. Also, the subway track signals were completed. I am getting ready to work on the Bigville subway station.
We also participated in our first Piedmont Pilgrimage last Oct. Every one had a good time, and I am getting ready for the second one next month.
During the year we had a couple 'play days', in which a couple club members brought over some very nice trains to run.
This year I'd like to finish up ALL of the subway loop and lighting, and get the some more bench work done. Before I can do that, I still need to get that other side of the basement finished.
The old layout down was torn down, and parts are now in use in Tennessee. I also worked on the TMCC signal some and it is working fairly well on the Helix loop, but not so well else where. The Lego subway was installed, and the walls and lights were put in on the Helix end. Also, the subway track signals were completed. I am getting ready to work on the Bigville subway station.
We also participated in our first Piedmont Pilgrimage last Oct. Every one had a good time, and I am getting ready for the second one next month.
During the year we had a couple 'play days', in which a couple club members brought over some very nice trains to run.
This year I'd like to finish up ALL of the subway loop and lighting, and get the some more bench work done. Before I can do that, I still need to get that other side of the basement finished.
Monday, August 15, 2011
NTS&B Accessory Buttons
Some things take up a lot of time to do, but don't really show up as progress on the layout. Switches to operate accessories are in this catagory. This month I added 8 new buttons, for a grand total of 18 buttons. In most cases, the buttons are overridden by slide switches at the control panels, for my viewing pleasure when no one is around to push the buttons.


Monday, August 1, 2011
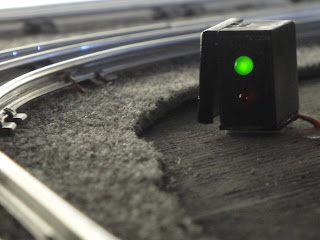
NTS&B Subway Signals
Quite a while ago, I came up with a simple LED circuit to use as block signals in my underground loops. The first one worked perfectly, then remaining kept blowing LEDs. I finally figured out that I had to add a resistore on the track side for that problem, but then one LED stayed lit. This turned out to be caused by the operating voltage being much higher than the track voltage. Once I set them about the same, everything started working, and I fixed the other 3 to match. Here is pictures of two of them. The boxes are made from extra battery holders from $1 Tree Accessories.



Saturday, July 16, 2011
NTS&B Mainline progress and another problem solved
The layer between the mainline and winter level is now adjusted, attached and painted. For now, the replacement plaster wall is on hold. A little over 1/2 was ground off the winter table using a belt sander, and now the long car finally has a little clearance (see picture below). A column was added to upport the hanging trestle member and some moss was added by the wall. A panel was finally added to the subway, to give it more of a sense of 2 stations.


Saturday, June 18, 2011
NTS&B New Old UP 2x6x6x4 Class A
A UP 2x6x6x4 Class A spent the night in town, and caused quite a stir with the morning passengers.


Jennifer and Bruce bought me some used engines for Fathers Day. One is a Class A, which was made from 2 2018 engines. After a bit of tuning it runs on 0-72 track. When I get time, I will try to make it run on a smaller track.


Sunday, June 5, 2011
NTS&B Some more visitors
I am finding out that one of the things I like most about having a layout is having friends bring their toys over to play. Here are some pictures of the latest "play day".

 Wyatt's #4501 Southern 2x8x2 Mikado from 1991
 Les's 2368 B&O Dual Motor F3 A/B from 1956
 Les's 2383 Santa Fe Dual Motor F3 A/A from 1958
 Les thinking 'Boy I sure hope that bridge stays up there with my F Units'
 Wyatt & Roger having similar thoughts about the other bridge.
 Monday, May 30, 2011
NTS&B Progress
Referring to the previous post. I replaced some of the cardboard between the mainline and winter layers with some of the backdrop material from my Temp Layout. Although this looks much better, I still might go with some kind of plaster between layers to make it look more natural. There is also one clearance issue with Scotties Monster car. If I go with the plaster backdrop, and can make a bit more room. Otherwise I may need to move a track about 1/8 inch, which may cause clearance problems with the next track.

 Layer cover using from backdrop from temp layout
 Clearance issue. Ohhhhh so close :(

 Layer cover using from backdrop from temp layout
 Clearance issue. Ohhhhh so close :(
Saturday, May 28, 2011
My Temporary Layout
My temporary layout actually started out in Bristol Tn in the mid 90's. It was then moved to Ga in 1998, and setup in 1999. The idea was to use it for a couple years until the other side of the basement was finished, and a new larger layout started. 12 years later, this has finally happened, and the layout has now been torn down. The layout's life is not totally over. A little of the backdrop will be used on my new layout. The remaining bench work and most of the track will be on its way back home to Tn for my daughter to reconfigure into a new, smaller layout. Below are a few pictures of the layout then, and now.


Tn Layout before moving in 1998


Layout in GA in 2005

Layout in GA today
Thursday, May 5, 2011
NTS&B Some more challenges
It's been a busy month, so not much visible progress has been made on the layout. Instead, I have been concentrating on a couple operation issues. First my friend Scottie brought over a 'little' train car so I could check for clearances. The car is a scale model of a modern Pulp Wood car, and is about 19 inches long, with the trucks right on the end of the car. My clearance checker is about the same length, but has the trucks set back in like a passenger car. His car has much more overhang, so caused me quite a bit of grief. It caused me to move a couple bridges on the outer mainline, and some support for the upper tracks over my figure 8 loop. Other than the inner main line, it will not run on any other loop at this time, and it is doubt full it ever will. A picture of the car, along with 15 inch aluminum and more normal 12 inch passenger car is shown below.
 Monster pulp wood car next to 15 inch and over 12 inch passenger car.
 Monster pulp wood car next to 15 inch and over 12 inch passenger car.
The second problem I had I noticed during the last club meeting held here. My winter area accessory lights kept cycling on and off. The problem was caused by 2 houses containing color wheels to give the affect of Christmas lights were drawing too much current. My first attempt at a fix was to run separate power to them, and using an HO transformer to power up only those 2 houses. It turned out that the 2 houses alone were causing too much current for that transformer, also. I then resorted to changing out the light bulbs in the houses. It turns out they were both using high intensity 10 watt halogen bulbs. I swapped them out and used the standard Lionel 'Christmas Light' bulbs that are used in the newer engines, and putting the houses back to the original transformer. The bulbs draw a whole lot less current, and are still sufficiently bright enough to create the desired effect. The picture below shows 1 of the houses with its original light bulb.
 Christmas house with original bulb
Subscribe to:
Posts (Atom)