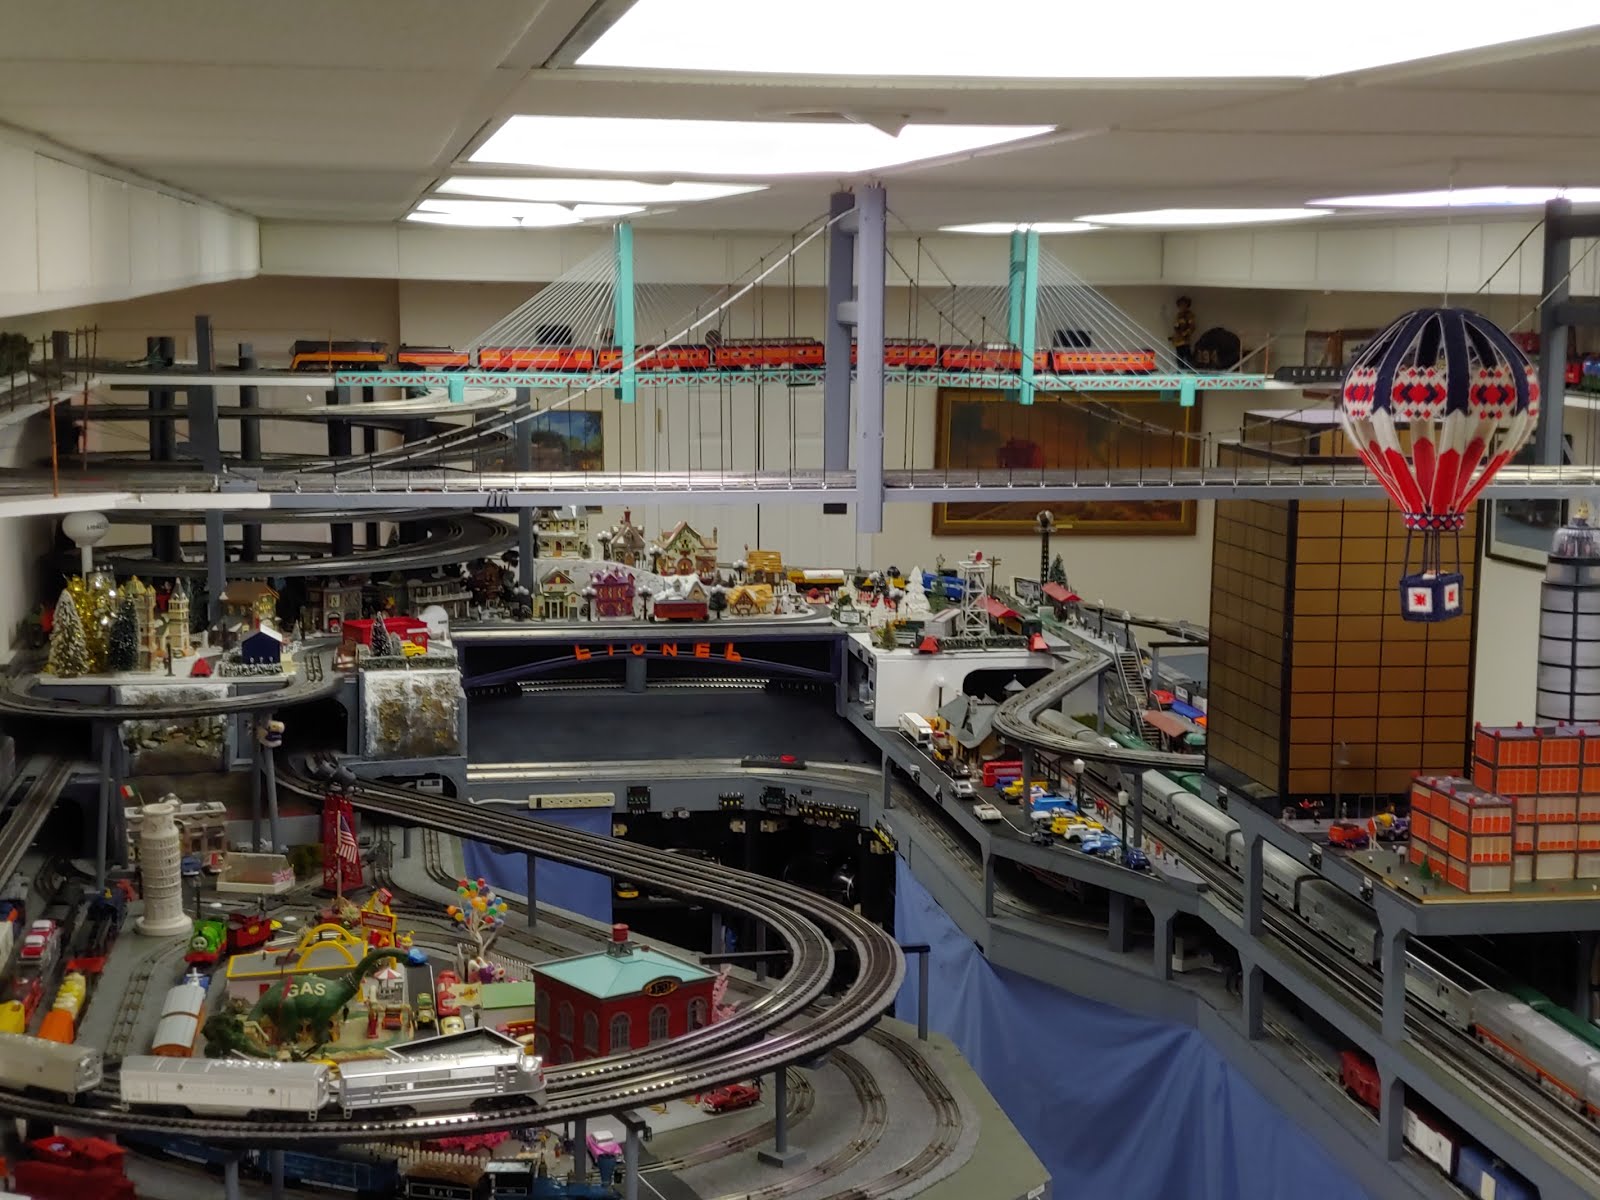
Here is a summary of pictures and blogs entries made along the way during the construction of the Helix.
 I used this pattern to get the most usage out of 1 sheet of plywood. My helix took a total of 2 sheets. For smaller radius tracks, especially fast track, you can lay the track on the plywood and draw it directly. I used a yardstick with a pin hole in 1 end, and 2 holes in the other end at the inner and outer radius points, then used the yardstick as a giant compase
 Top view of Helix before legs are attached. Its pretty big (60 inch Diameter).
 Bottom view of helix before legs attached. For assembly, I started on the top piece of roadbed, track side down. Then I spliced in the next piece, and the next, which eventually overlapped the first layer. I made sure not to have any splices under the top exit point, so that the slope could be lowered to create less of a hump to the upper level track, and still allow clearance.
 Trying to attach legs. Like handling a 6 foot wide 'slinky' toy. Layers are 8 inches, which turned out to be too much.
 Roadbed is connected to 2x2 risers using 2 or 4 scew L Brackets
 Final result, with layers 6 inches top of track to top of track. Notice how crooked the legs look. Because of all of the grades involved, there is no way to 'eye ball' the verticals. Each leg was plumbed on all sides with a carpenter level.
The unit was tested on the floor for clearance and operating characteristics, BEFORE it was positioned on the layout, which I HIGHLY recommend.
 Track wiring completed. Wiring is total over-kill, with connections every 1/4 circle. I attempted to keep all wire lengths equal, to try to keep constant power going up the grades
 Side view, partially painted
 Wiring connections at top of Helix pole. Used to power ceiling track and accessories
 Bolts were placed in the bottom of each 2x2 leg to be used as levelers. Here the helix is resting on the plywood that will be used as the table top underneath it, so the holes can be marked and drilled accurately.
 Helix in its final resting place. It only took 5 of us to get it there
 Final results
I used 1/2 inch 3 ply plywood. If I had it to do over again, I would use 4 ply. It is stiffer in both directions than 3 ply. I then used 8-2x2s for the legs, 4 inside and 4 outside. I used L-brackets to mount the plywood to the legs. I also put screws in the bottom of each leg for levelers. I don't remember the proper name for them, but they are the ones with 1/4 inch thread on one end, and a Lag bolt thread on the other end. You could also just use Lag Bolts for levelers.
Specs
-6 inches from top of track to top of track
-4 1/2 clearance between layers (top of track to bottom of next layer)
-0-42 inch diameter on inside loop resulting in grade about 4.5 percent
-0-52 inch diameter on inside loop resulting in grade about 3.5 percent
-31 inches total height starting at 51 inches from floor, and ending at 82 inches from floor
-58 inch overall outside diameter, with 2 inch clearance
-37 inch inside diameter, with 2 1/2 inc clearance