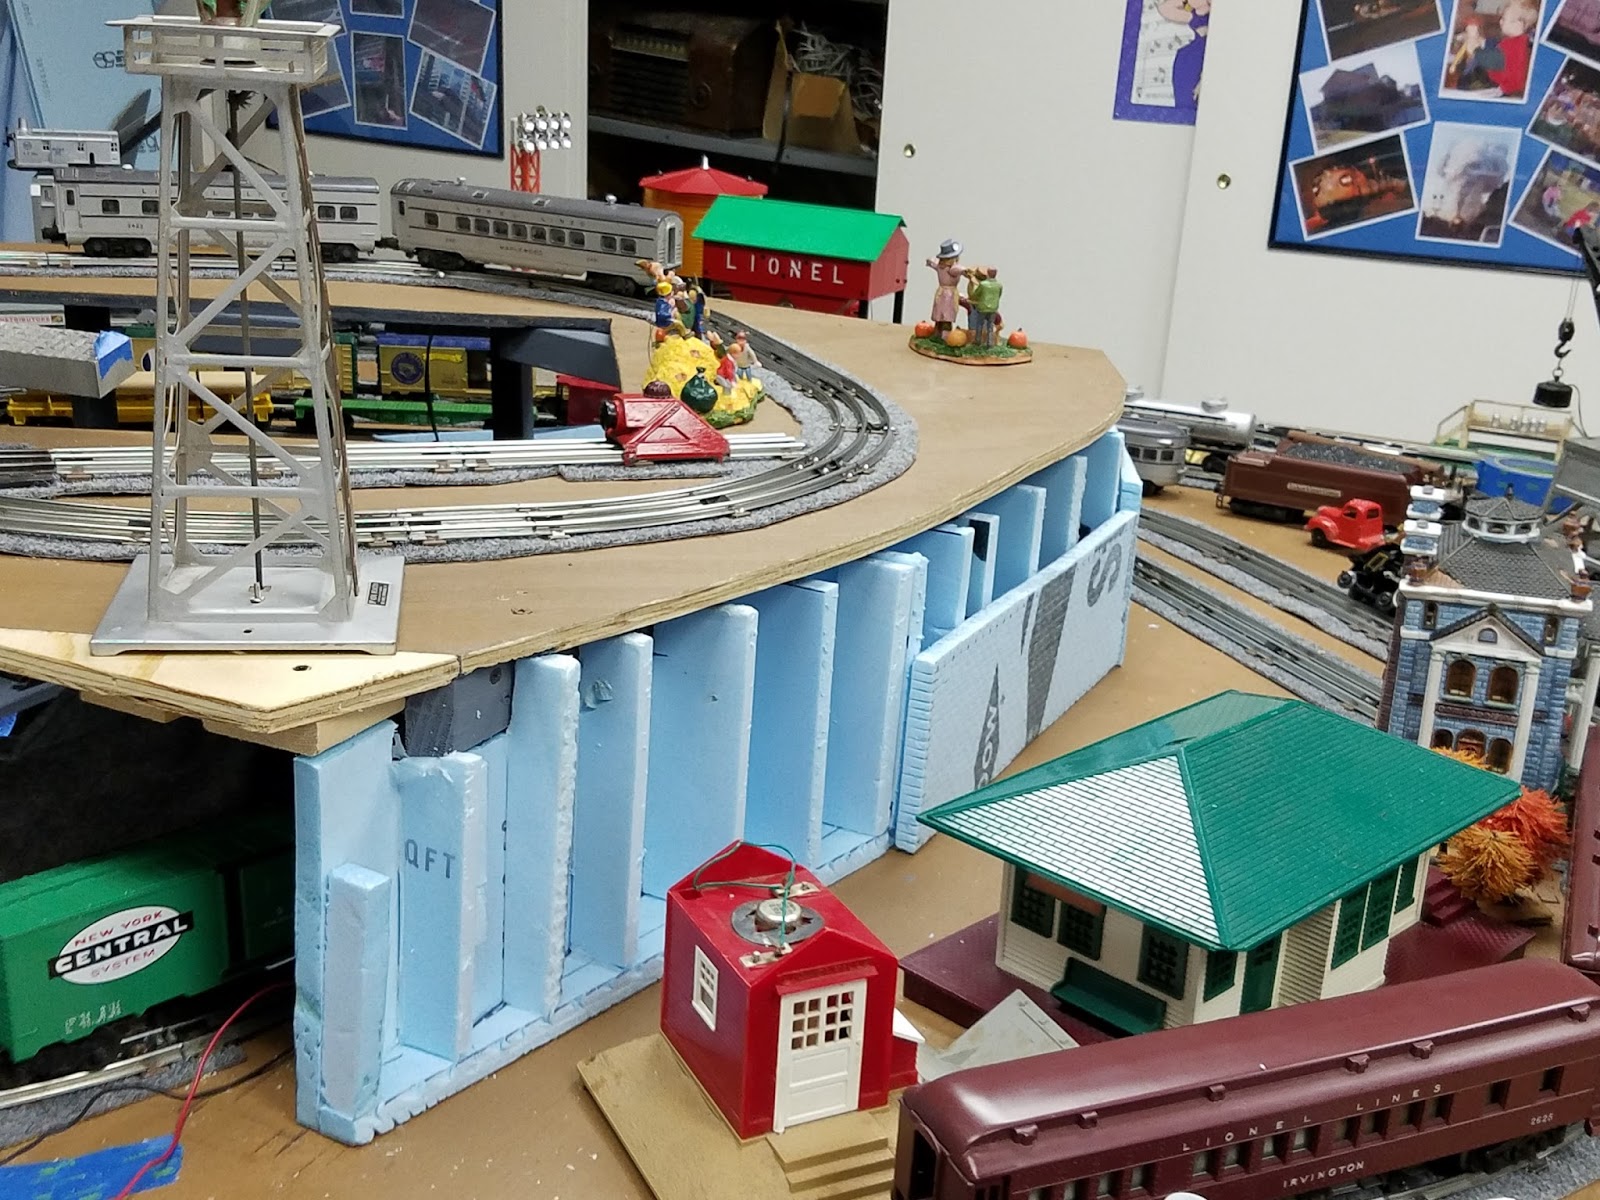
Finally getting to the point where I can see what the final portion of the mainline is going to look like. Here are the pictures of the track, supported only by boxes. I'm also trying to get a feel for the look and placement of the two bridges, and clearances for track underneath and on raised area.
Sunday, August 7, 2016
Friday, August 5, 2016
NTS&B Starting Fall Level Roads
Started laying road and parking lot for Funeral Parlor and train station on the fall level. I used some HO roads that my neighbor donated for the cause for the road, and black craft foam for the parking lot.
Saturday, July 30, 2016
NTS&B Fall Inlet and granite wall
I decided to try still another method to make a wall around the inlet. I took some 3/4 inch Styrofoam, and created some variations in the wall using a heat gun. Then I coated it lightly with some Hydrocal, primed it with gray paint, and added a touch of black paint. Finally I added ground foam and lichen using the 50% white glue and water mix. The other side wall was done using the normal Styrofoam, plaster cloth, and Hydrocal The walls were then pushed into place with no tape or glue holding them. For the inlet, I used various shades of blue paint to give it the illusion of depth. Here are the pictures.
3/4 inch Styrofoam with surface deformed with heat gun,
some hydrocal added, primed, and painted
Green paint, ground foam and lichen added
Around the corner, the wall was done with foam and hydrocal.
It turned out to be a good place to place the NAOGRR Billboard.
Inlet was painted, and sand and rock added.
NTS&B Fall vertical wall creation second method
A fellow club member that professional builds layouts showed us how he quickly creates mountains. He glues layers of Styrofoam together, then uses a wood drill bit in his electric drill, and knocks out chunks of foam using the side of the bit. Here is my modified attempt.
I started with 2 inch pink Styrofoam used vertically.
Then I used wood bit at an angle to carve out chunks of foam.
A vacuum cleaner is a must for cleaning up loose foam.
Here is the painted carved wall face.
Then I added lichen and ground foam,
i performed the same basic steps on some 3/4 inch foam,
but had to be careful to not go through the foam.
Here is the completed pass with both sides installed.
Wednesday, July 27, 2016
NTS&B Fall vertical walls completed
I finally finished vertical walls. Its taken a little over a month to finish it. All walls are held in place with either painters tape or hot glue for easy removal. The following pictures show the basic steps on the first wall, then the remaining walls.
First plaster cloth was added to area above block walls
Hydrocal mixed with gray paint was spread over the
plaster cloth to cover holes and add strength.
Scenery material was then applied over the hydrocal using white glue
diluted 50% with water with a drop of dish washing detergent added.
Other panels completed using same process.
Thursday, July 14, 2016
NTS&B July 4th Parade
While I was hard at work on the fall scenery, Bigville held its annual July 4th downtown parade and showed off their new Chick-fil-A float.
Monday, June 20, 2016
NTS&B Fall Vertical Scenery Started
According to my son, I have been remiss in keeping this blog up to date. I am only about 7 months behind. Therefore, I am going to back date entries in an attempt to catch up, but it may take a couple months. I've actually been busy working on the railroad, and not keeping up the documentation.
I finally starting vertical walls in the fall area. Its been 2 months since last progress. This long wall was made by hot gluing pieces of Styrofoam together on to a 1 piece bottom and back. The front retaining wall was made using a hot knife to score the indentations to represent concrete blocks, and hot glued to the risers. The following pictures show some of the process.
Tuesday, April 19, 2016
NTS&B Phase 5 Power Stations (Last 2) Built And Installed
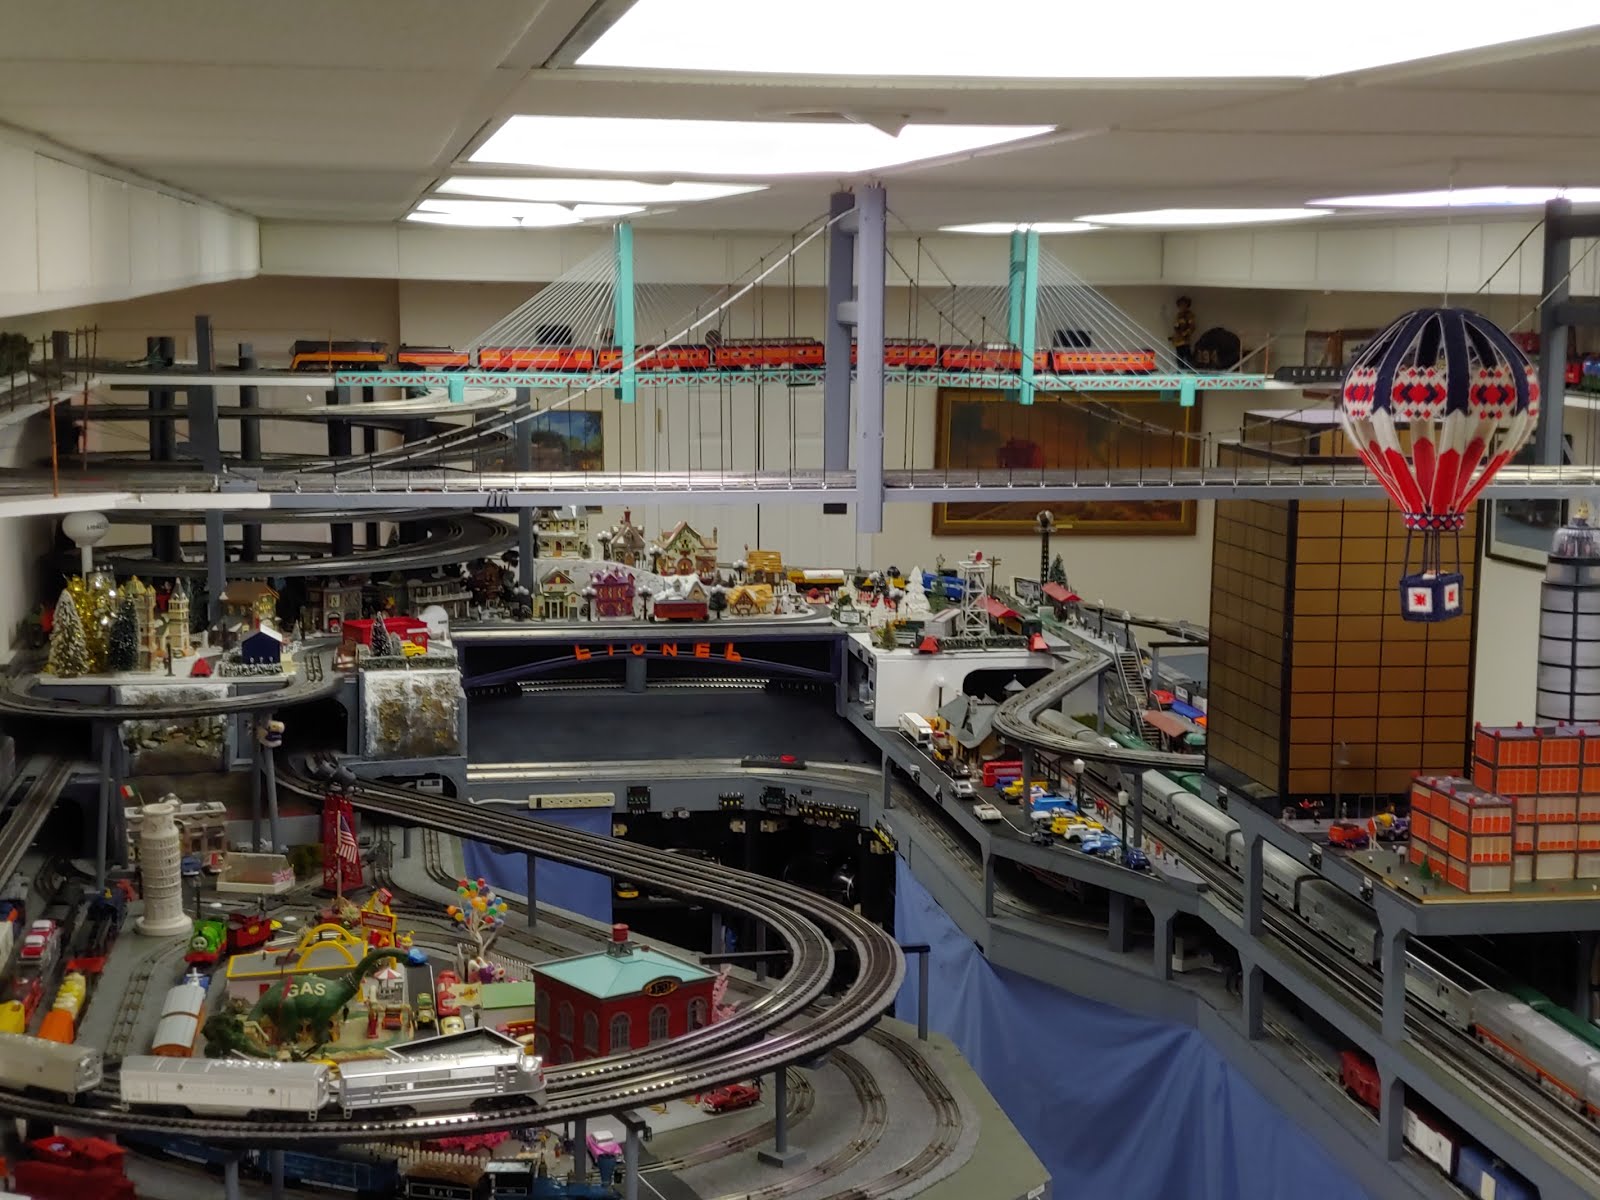
Finally, the last 2 power stations have been built and installed. One is for the outside 2 loops, and the other is for the inside and raised loops. Here is what they look like.
![]() | ||||
| Freshly built stations. Middle shelf height is different on outside 2 loops station than other stations |
Outside 2 loops. Middle shelf set up so can reach accessory transformers more easily,
since they are controlling a variety of Lionel accessories that will need constant adjusting.
Inside and Raised Loops Station
Monday, April 11, 2016
NTS&B Phase 5 postwar coal loader and crane flip down control panel
The controls on my old crane and coal loaded had the same size issues as the modern ones. Therefore, I needed a second flip down shelf near the 2 accessories. The cables on both accessories had also dried up, so I had to rewire both of them. I also added a connector under the layout for each of them, for easy removal for maintenance.
Picture with shelf closed.

Picture with shelf open showing Coal Loader and Crane Controls.
Monday, March 28, 2016
NTS&B Phase 5 modern crane and coal loader flip down control panel
I needed somewhere to mount the extra tall controls for the cranes and coal loaders. I finally decided to mount them on a flip down panel. The one for the modern crane and coal loader on the side for the outer 2 loops controls is now complete. The actual shelves were completed a couple weeks ago. I had to replace belts and grease on both units to get them to work, since they haven't been run since 1998. I got them working today, and finished mounting the controls to the shelf. The shelves will normally be closed to keep them out of the way. The shelf flips down when needed to operate the equipment, and sticks out about 4 inches. For open houses, the shelf will be closed so little hands will not be playing with them.
Picture with shelf closed

Picture with shelf open showing Coal Loader, Uncoupler, and Crane Controls
Subscribe to:
Posts (Atom)