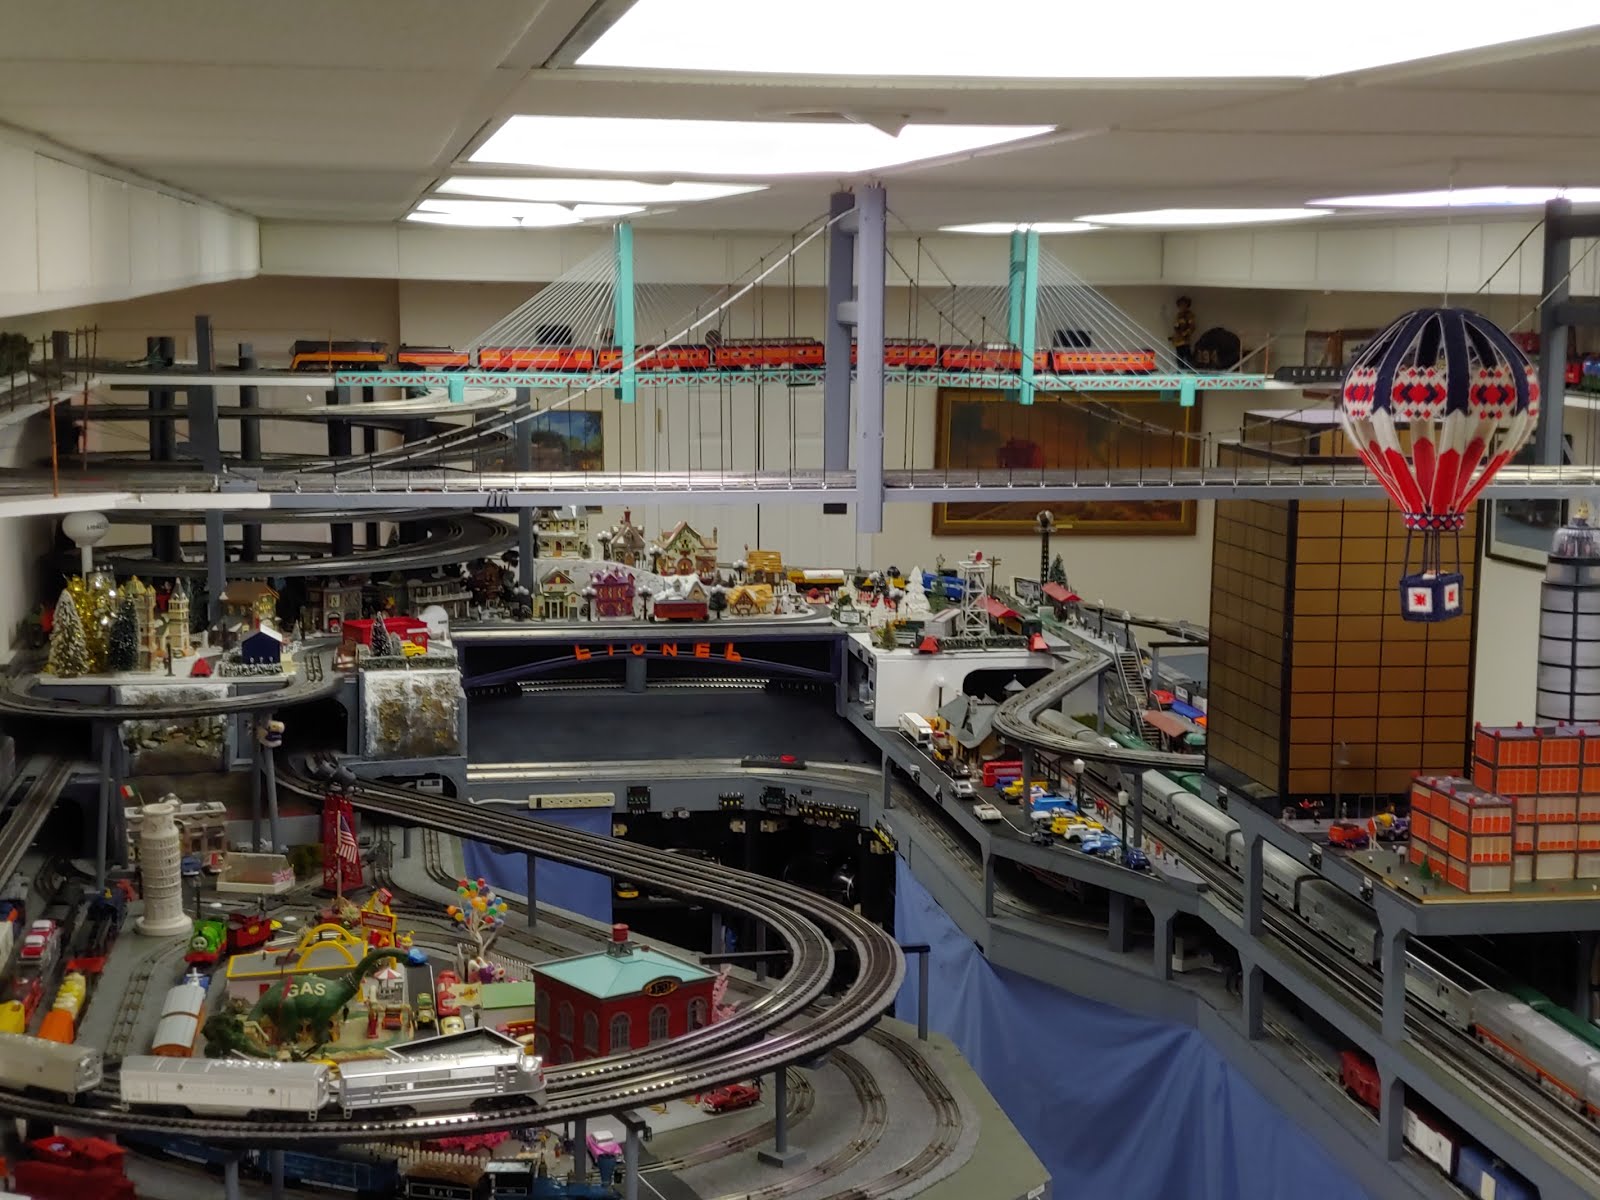
Kathy was concerned that I might have more trains than would fit on the layout, so I decided to ease her mind and build a display shelf at the end of the room to hold some of my extra stock. The shelves are 5 feet wide, by 7 feet tall, by 4 inches deep. The risers were notched for each shelf. Each shelf was grooved to fit the wheels, instead of having to add track to the shelves. I also notched and painted the leftover parts of the shelves and risers, so I can build another shelf under the layout when time and energy permits.
The plan is to be able to switch out from all F3's to steam, or some other combination. I have the feeling that I may need more shelves to accomplish this though. Here are the pictures.
Wednesday, October 5, 2016
Tuesday, September 20, 2016
NTS&B Final mainline section roadbed complete and supported
The roadbed for the final portion of the mainline is finally completed, The roadbed has been painted, 'ballasted', and wooden supports added. Even the bridges are supported. The outside silver bridge, which Anthony gave me, had to be lengthened to span the inlet.
Friday, September 9, 2016
NTS&B Working on final leg of mainline
Now that the track positioning appears to work, it's time to remove the temporary 0-34 turnaround, and start making the bench work to support the track. The bench work will be made from 1/2 inch plywood.
0-34 loop removed, and new mainline tied into end of yard.
It looks like bridges will line up ok.
Starting plywood roadbed under the track.
Cutting curves is definitely a trick to get right.
Roadbed is complete under track, but supported by boxes.
Testing long trains on new mainline which is still supported on boxes.
Sunday, August 7, 2016
NTS&B Starting to lay in final portion of mainline
Finally getting to the point where I can see what the final portion of the mainline is going to look like. Here are the pictures of the track, supported only by boxes. I'm also trying to get a feel for the look and placement of the two bridges, and clearances for track underneath and on raised area.
Friday, August 5, 2016
NTS&B Starting Fall Level Roads
Started laying road and parking lot for Funeral Parlor and train station on the fall level. I used some HO roads that my neighbor donated for the cause for the road, and black craft foam for the parking lot.
Saturday, July 30, 2016
NTS&B Fall Inlet and granite wall
I decided to try still another method to make a wall around the inlet. I took some 3/4 inch Styrofoam, and created some variations in the wall using a heat gun. Then I coated it lightly with some Hydrocal, primed it with gray paint, and added a touch of black paint. Finally I added ground foam and lichen using the 50% white glue and water mix. The other side wall was done using the normal Styrofoam, plaster cloth, and Hydrocal The walls were then pushed into place with no tape or glue holding them. For the inlet, I used various shades of blue paint to give it the illusion of depth. Here are the pictures.
3/4 inch Styrofoam with surface deformed with heat gun,
some hydrocal added, primed, and painted
Green paint, ground foam and lichen added
Around the corner, the wall was done with foam and hydrocal.
It turned out to be a good place to place the NAOGRR Billboard.
Inlet was painted, and sand and rock added.
NTS&B Fall vertical wall creation second method
A fellow club member that professional builds layouts showed us how he quickly creates mountains. He glues layers of Styrofoam together, then uses a wood drill bit in his electric drill, and knocks out chunks of foam using the side of the bit. Here is my modified attempt.
I started with 2 inch pink Styrofoam used vertically.
Then I used wood bit at an angle to carve out chunks of foam.
A vacuum cleaner is a must for cleaning up loose foam.
Here is the painted carved wall face.
Then I added lichen and ground foam,
i performed the same basic steps on some 3/4 inch foam,
but had to be careful to not go through the foam.
Here is the completed pass with both sides installed.
Wednesday, July 27, 2016
NTS&B Fall vertical walls completed
I finally finished vertical walls. Its taken a little over a month to finish it. All walls are held in place with either painters tape or hot glue for easy removal. The following pictures show the basic steps on the first wall, then the remaining walls.
First plaster cloth was added to area above block walls
Hydrocal mixed with gray paint was spread over the
plaster cloth to cover holes and add strength.
Scenery material was then applied over the hydrocal using white glue
diluted 50% with water with a drop of dish washing detergent added.
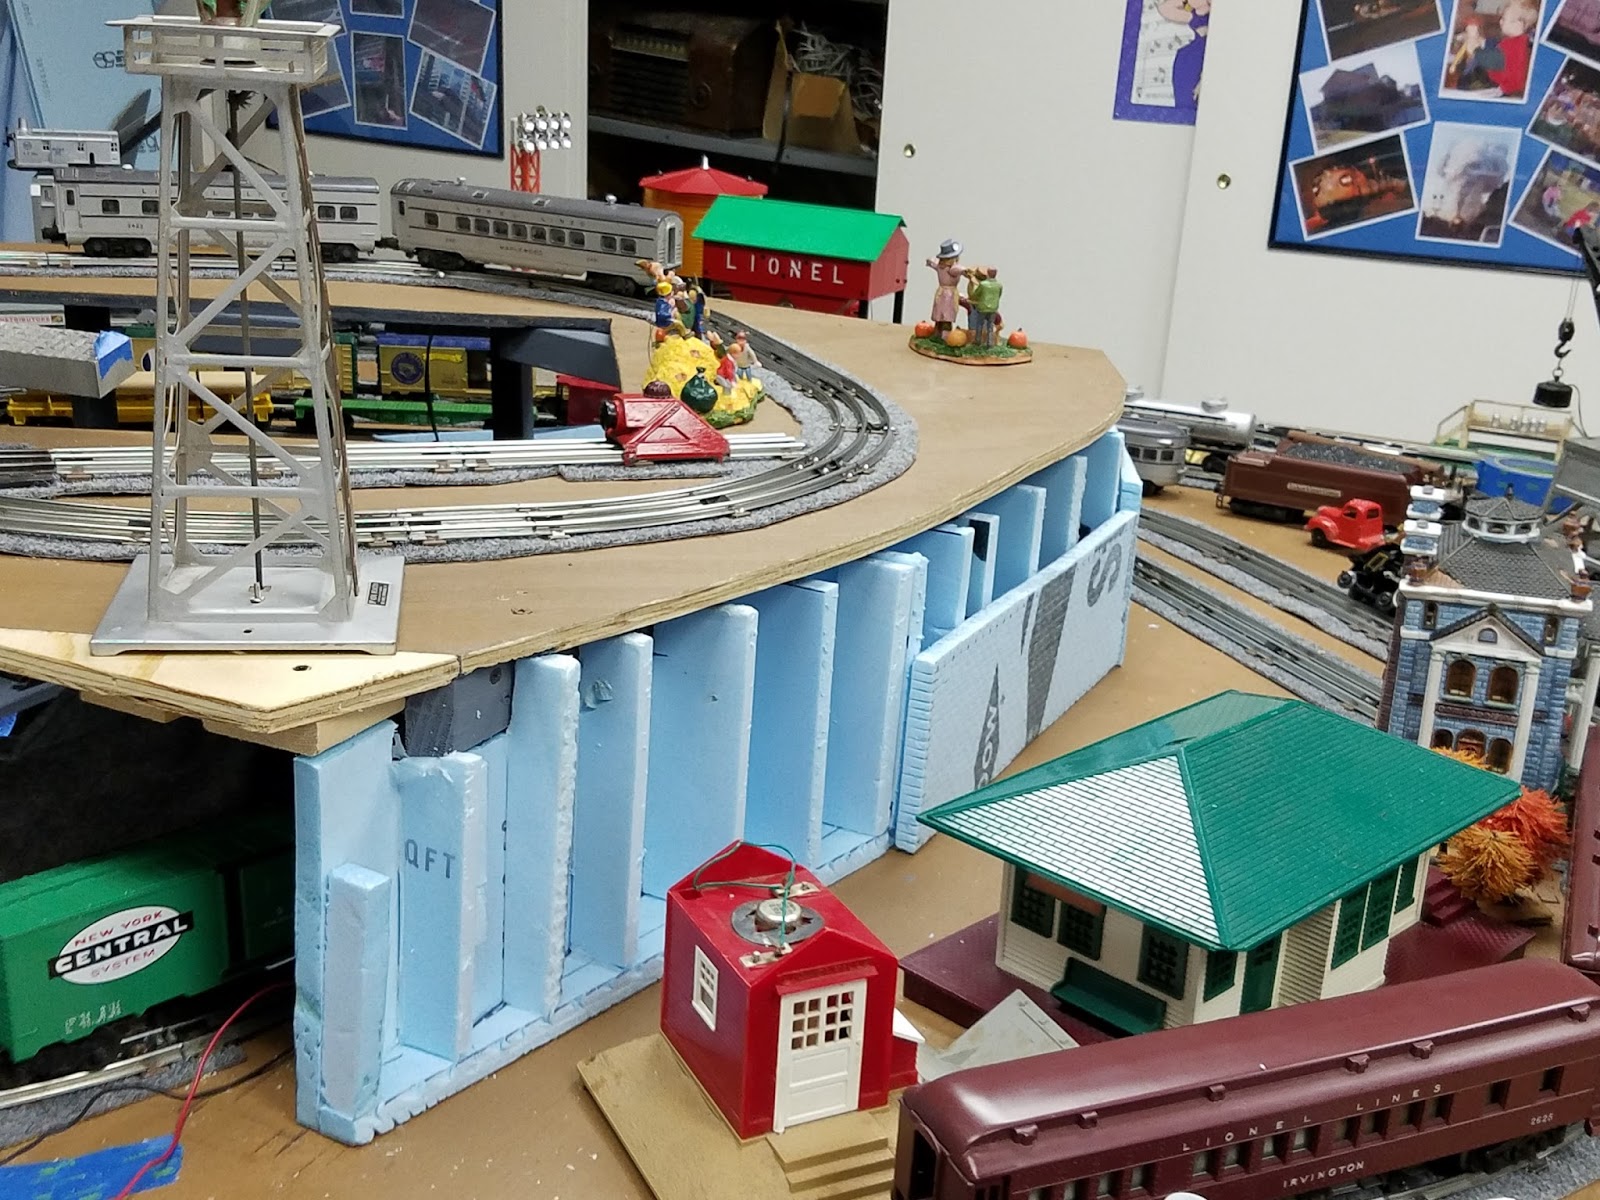
Other panels completed using same process.
Thursday, July 14, 2016
NTS&B July 4th Parade
While I was hard at work on the fall scenery, Bigville held its annual July 4th downtown parade and showed off their new Chick-fil-A float.
Monday, June 20, 2016
NTS&B Fall Vertical Scenery Started
According to my son, I have been remiss in keeping this blog up to date. I am only about 7 months behind. Therefore, I am going to back date entries in an attempt to catch up, but it may take a couple months. I've actually been busy working on the railroad, and not keeping up the documentation.
I finally starting vertical walls in the fall area. Its been 2 months since last progress. This long wall was made by hot gluing pieces of Styrofoam together on to a 1 piece bottom and back. The front retaining wall was made using a hot knife to score the indentations to represent concrete blocks, and hot glued to the risers. The following pictures show some of the process.
Subscribe to:
Posts (Atom)