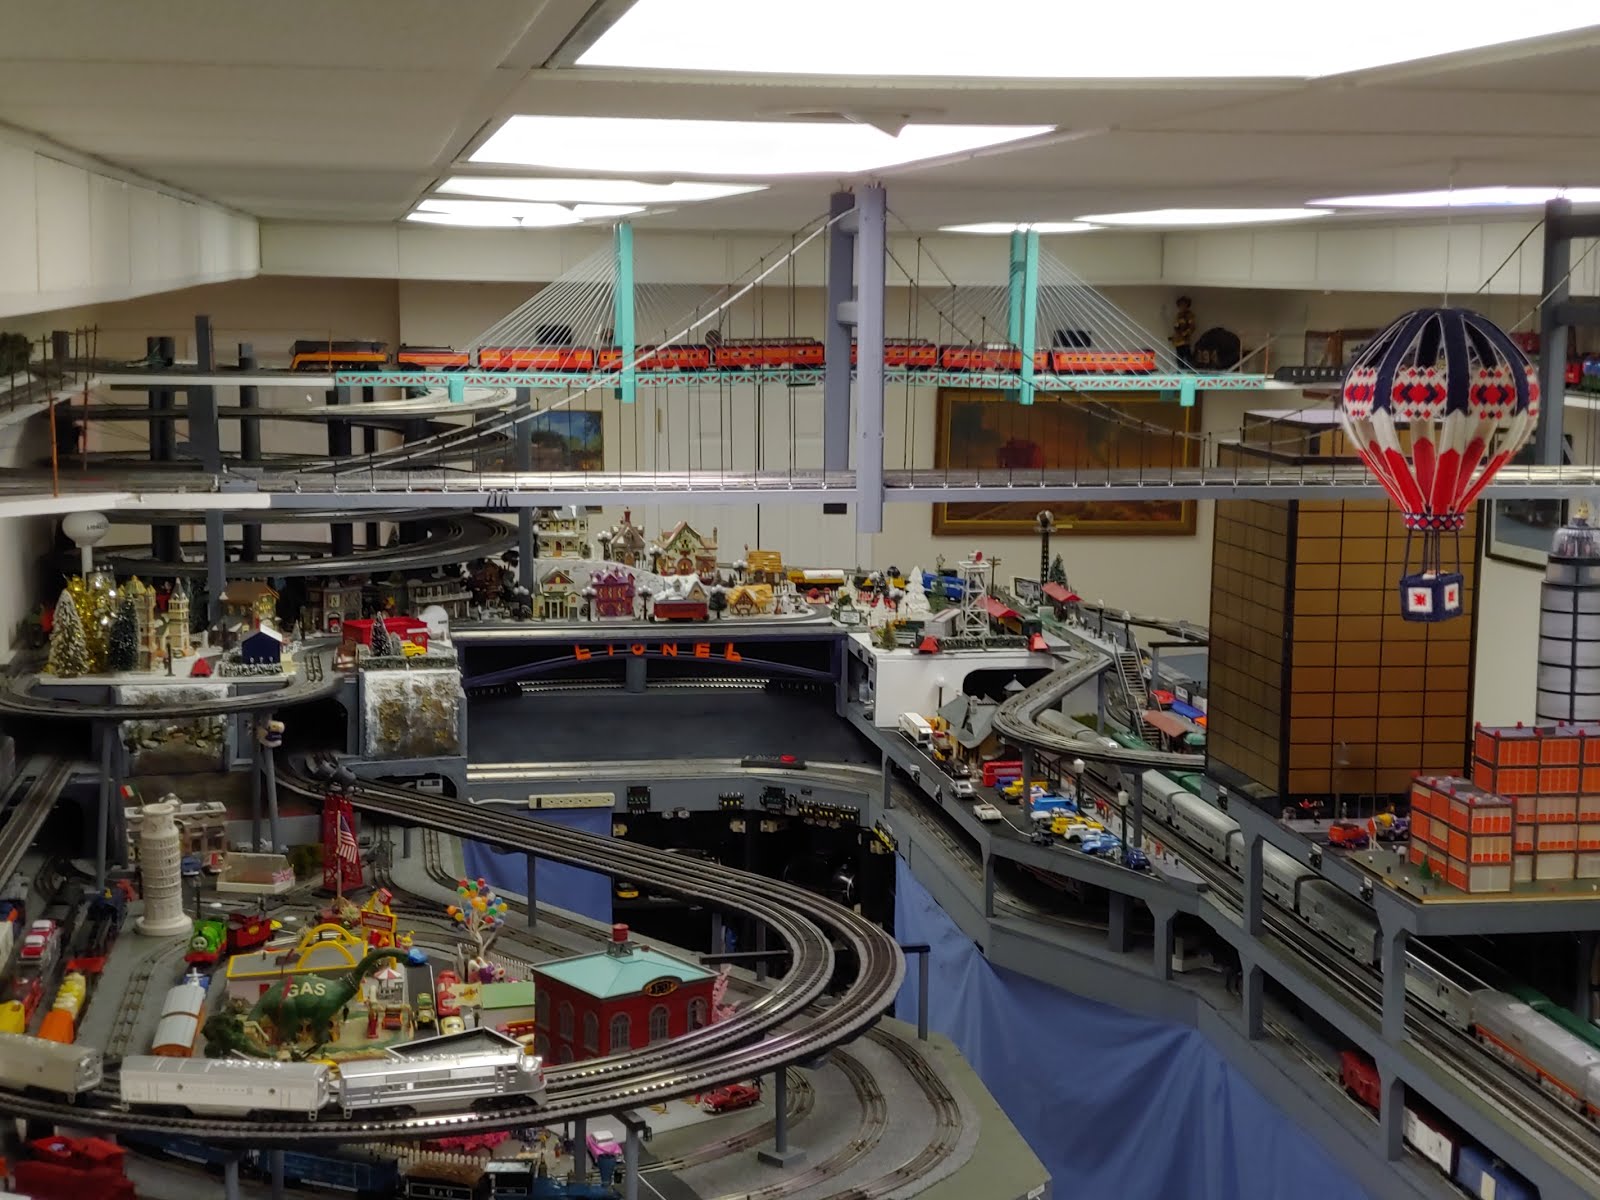
Sunday, March 22, 2015

NTS&B Phase 5-Some wiring and third module

I finished the legs, and started running wires on the new extension.  While reviewing my track plan with accessories, I realized that the control panel that I had planned for the side of the table really needed to be on the end of the next table.  This is because the accessories require accurate car positioning, which could not be made looking from the side.  Therefore, I had to extend the wires I had already run.   I did realize that it is much easier to run wires from the top of the table, instead of underneath the table.  The problem is now that I feel I should put a clear acrylic top on it instead of plywood, so people can see how much work goes on UNDER the layout.

I also started the small extension on the mainline table, where the light house will be located.  The cardboard and blue papers are where the bay will be located.


View from one end showing wires and lights and new module

 View from other end, showing more wire and bay

Side view of bay, module, and approximate track positions.

Monday, March 9, 2015

NTS&B Phase 5 Started-First 2 modules

Finally started on the 8x10 fall (autumn, not as in fall on the floor) section.  This week I started on the 1x4 transition section, and the first 4x8 table.  The remaining 4x8 and 2x8 will be delayed a while until I make more room for the expansion. The 2 new module frameworks are complete, and temporary legs holding them up.  The legs will be connected and the module fully attached to the rest of the layout this week (when I am able to move again).  Hopefully, the plywood table top will follow next week.  Here are pictures of the progress so far.

 02/08/2015-Step 1-Move kitchen table out to make room for extension

Day -1-Demolition (no-didn't use sledge hammer)-disassemble temporary table on end of layout
Day 1 - Transition module complete


 Started main table. Ran out of daylight

Day 2-Framing complete for main module.  Legs temporarily balanced underneath.

Overview picture of layout showing new foot print

Monday, January 12, 2015

NTS&B Kris Kringles Klearance And Kloseout Shop

Scott and Maria gave me a Kringles Klearance And Kloseout Shop for Christmas.  Carolyn and Anthony gave me some snow covered trees. I finally found an appropriate place to put them on the layout.  It also created a logical place to put a road to access Tinseltown.  Here are some pictures of the final result.


Found new home for Kloseout Shop

Kloseout Shop installed with roads and snow


Lights connected
Overall scene with new trees on left

Scene at dusk

Sunday, December 21, 2014

NTS&B Merry Christmas 2014

Another year has passed, and the layout has not progressed much again this year.  Had shoulder surgery at end of Feb to fix ice skating injuries, and still can't do much.  Mainly been working on scenery and Bigville, since that's about all I can do.   We did a recent trip to Callaway Gardens for the lights.   Here are a few pictures.  Merry Christmas and a Happy New Year.


Sunday, November 2, 2014

NTS&B Fifth Piedmont Pilgrimage Open House

My fifth Piedmont Pilgrimage turned out to be just as enjoyable as my other ones.  I had 5 full time 'helpers' (Wayne C, Roger & Sherry, Bob P, and Les) , and a couple club members came over.  All told, we had 62 people including ourselves, which is a record.  We picked up at least 1 new family for the club.

As usual, the weeks before, I worked my tail off trying to get last minute finishing touches in, mainly on Bigville Bank and Mis-Trust.  All buttons that did not have an override at the control panels  were painted red.  The rest was just general cleanup.

Form what I could tell, everyone seemed to have a good time

Wednesday, October 15, 2014

NTS&B Bigville Bank and Mis-Trust building completed

The third and final Bigville building is compete and installed.  May have to add some more detail to the inside later.   Here are some pictures of the initial concept and finished product.

 Paper napkin inartistic artists concept drawing

 Finished building

 Finished building lit up

Bigville

 RR-Track rendition of Bigville

Sunday, October 5, 2014

NTS&B Daffy Duck to the rescue-new Bigville building started

Finally started the new Bigville skyscraper (tentative name is Bigville Bank and MisTrust).  Building is being made out of Plexiglass, and will be approximately 15" wide by 17" deep by 28" tall, with another 2" tall penthouse on top.  I knew plexiglass is a pain to work with.  After I got it cut out (which is what I thought the hardest part was going to be), I tried to remove the protective paper from the plexiglass so I could start what I thought would be the second challenge (getting glue to hold the pieces together).  The plexiglass I used was quite old, so the paper would NOT come off.  After working over 1/2 hour, I managed to get about a 6x6 square done.   I then went to the manufacture web site, and they suggested to soak the paper with a product made by Duron. Duron is now out of business,  so after numerous phone calls decided that was a dead end.  I then called Home Depot, and they suggested a plastic paint scraper or another piece of plexiglass which should not the scratch plexiglass if used carefully.  That worked a little better than nothing, but was still almost impossible to get the paper off, and left much of the glue on the plexiglass.

I finally had the idea to try heat to soften it up.  I found my very shy Daffy Duck hair dryer (he must be shy, because he kept hiding under towels in the back of the linen closet, and Kathy said she didn't put him there).   The heat worked great on all but the most stubborn parts.  I then discovered rubbing alcohol worked fairly well on those parts.   All in all, it took about most of my spare time for 3 days (and 2 very sore thumbs), to get the paper off 5 pieces.

Here's Daffy at work, along with some progress pictures.

 Daffy to the rescue !!

 First attempt at gluing sides (took 3 more tries before I finally got it to hold)

 Penthouse fabricated and painted, but not complete.

No that's not magic.  There's a stealth building under that penthouse.


Saturday, September 20, 2014

NTS&B Mainline Yard Track Controls Finalized

The mainline yard power switches were put in place temporarily a couple years ago.  I finally got time to finalize the controls, and add switch track buttons for the turnouts on the existing end of the yard.  Here are a couple pictures of the results, and one before the changes.

All track power switches are now on when positioned to the right. Switch track buttons are laid out in order of the turnouts, with a track diagram in white.  Future switches will be on the right when rest of yard is completed.
The area where the switches are is quite dark, so I added LED lighting with a separate toggle switch (Upper right side of enclosure). I now also have additional storage for smoke fluid.

Temporary yard tracks power wiring under layout before finalization.

Final yard tracks power wiring. Additional wires will be added on top row when other end of yard is completed and wired in.

Sunday, August 31, 2014

NTS&B All roads lead to Jo Ann's

Finally got the road crossing laid in, the lines added, and Jo Ann's lighting installed.  Could not believe how long it took to finish the roads.  Here are a couple pictures of the progress.


Sunday, August 3, 2014

NTS&B Tunnel liners complete

Have been working on tunnel liners (dividers) under the Winter, Mainline, and Spring layers so that you couldn't see all the way through the layout and so trains would actually disappear when they went into a tunnel. I used a variety of material which included: 1) the hardboard back off an old book shelf, 2) a corrugated plastic sign, 3) blue Styrofoam sheeting,  and 4) stacked blue Styrofoam shaped like  rock layers.  The problem with all of these attempts is that they must be painted, and the backing is rigid which is hard to bend and install and makes it impossible to get to a derailed train if both sides of the tracks have the lining.   I have also seen molded Styrofoam and painted paper used as liners, which share the same access problem as the liners I used.

I recently stumbled on a good alternative (for me) at Hobby Lobby that is flexible, cheap, and fast and easy to install.  The product is 60 inch wide blotchy gray felt, about $6 per yard.   The label on the felt said that the material was flammable,  but when tested with a cigarette lighter it melted like nylon rope.   Felt is slightly sticky when held against plywood, so holds itself in place for stapling (which came in handy when working with only 1 good arm).  It is also fairly heavy, so it blocks out most light under the layout, and stays in place pretty well.  I stapled the material only at the top so the bottom could be easily move in case a derailment occur.  Here are some pictures of the finished product.


          Felt between top and lower left layers, stacked Styrofoam on right between the bottom 2 layers

 Felt is easily curved to follow track contour by stapling on top


Felt between top 2 layers, stacked Styrofoam between the bottom 2