Sunday, September 13, 2009

NTS & B Phase 2 ready for track

Finished putting on the legs and painting the Phase 2 tables. Still working on how to add mainline track above it. Thinking about using shelving brackets on the wall to eliminate taking up space on the table. Ready to start laying in the track, but will be delayed a couple weeks due to other commitments.


Monday, September 7, 2009

NTS & B Another Phase 2 table built

The second large module for the Phase 2 section is now complete. The addition is around 8 ft wide by 7 ft deep. The right hand module is framed to allow a large access hole to be cut, after the track is all laid in. Legs have been cut and supporting both modules, but not permanently attached yet. The modules need to be attached together first. The isle down the center is about 2 feet. Still trying to figure out how to support the main line track above these modules, without blocking everything underneath. A problem for another day ....


Friday, September 4, 2009

NTS & B Year 3, and Phase 2 benchwork started

Year 2 has just ended, already, and now we are headed in year 3. The weather is supposed to be ideal this weekend, so decided to start Phase 2 bench work, instead of working more on Tinsel Town. Phase 2 is 2 tables, and the raised mainline loop. One table is 4 ft wide, 7 ft long on 1 side and angled to 4.1/2 ft long on the other side. The other is 4 ft wide by 7 ft long, with 2 corners cut at an angle. See following sketch and pictures for new overall size and first module.


First of 2 Phase 2 Modules


Overall size when Phase 2 complete

Wednesday, August 12, 2009

NTS & B Tinseltown South Village started

It seems that the village of Tinseltown South has sprung up almost overnight. Well, it might have taken a bit longer than that. The original plan was to have 2 rows of houses with a trolley track in between. The problem with that concept is that you would only see the back of the houses from both sides of the layout. I then remembered a little town in Norway that I visited that was built on the side of a hill with roads barely enough for 1 car. By setting the village up in this fassion, the front of both rows of houses can be seen from the front of the layout. It also has the advantage of blocking the view of the trestle located behind the houses. I was going to leave the trolly out, but the plan left just enough room for a bumper trolley track in front. I used the K-Lionel Super Street track create the appearance of a road / trolley track combination. In place of the standard bulbs in the houses, I used 14-18 V wheat lamps. The street lights are from a lead of Christmas lights that my son-in-law bought me. The string of 10 lights was cut into individual posts, which are 12 V each, and run off a standard Lionel transformer along with the wheet lamps. Although the center of the village is wired, much work needs to be done on both ends to add a more lights, houses, and accessories.

Village of Tinseltown South, on top of my first ever attempt at a mountain

Town in Norway. Streets are pretty much for walking only.

Tinseltown South, as seen from end. Trolly track runs to left.

Town in Norway. Notice the sign.

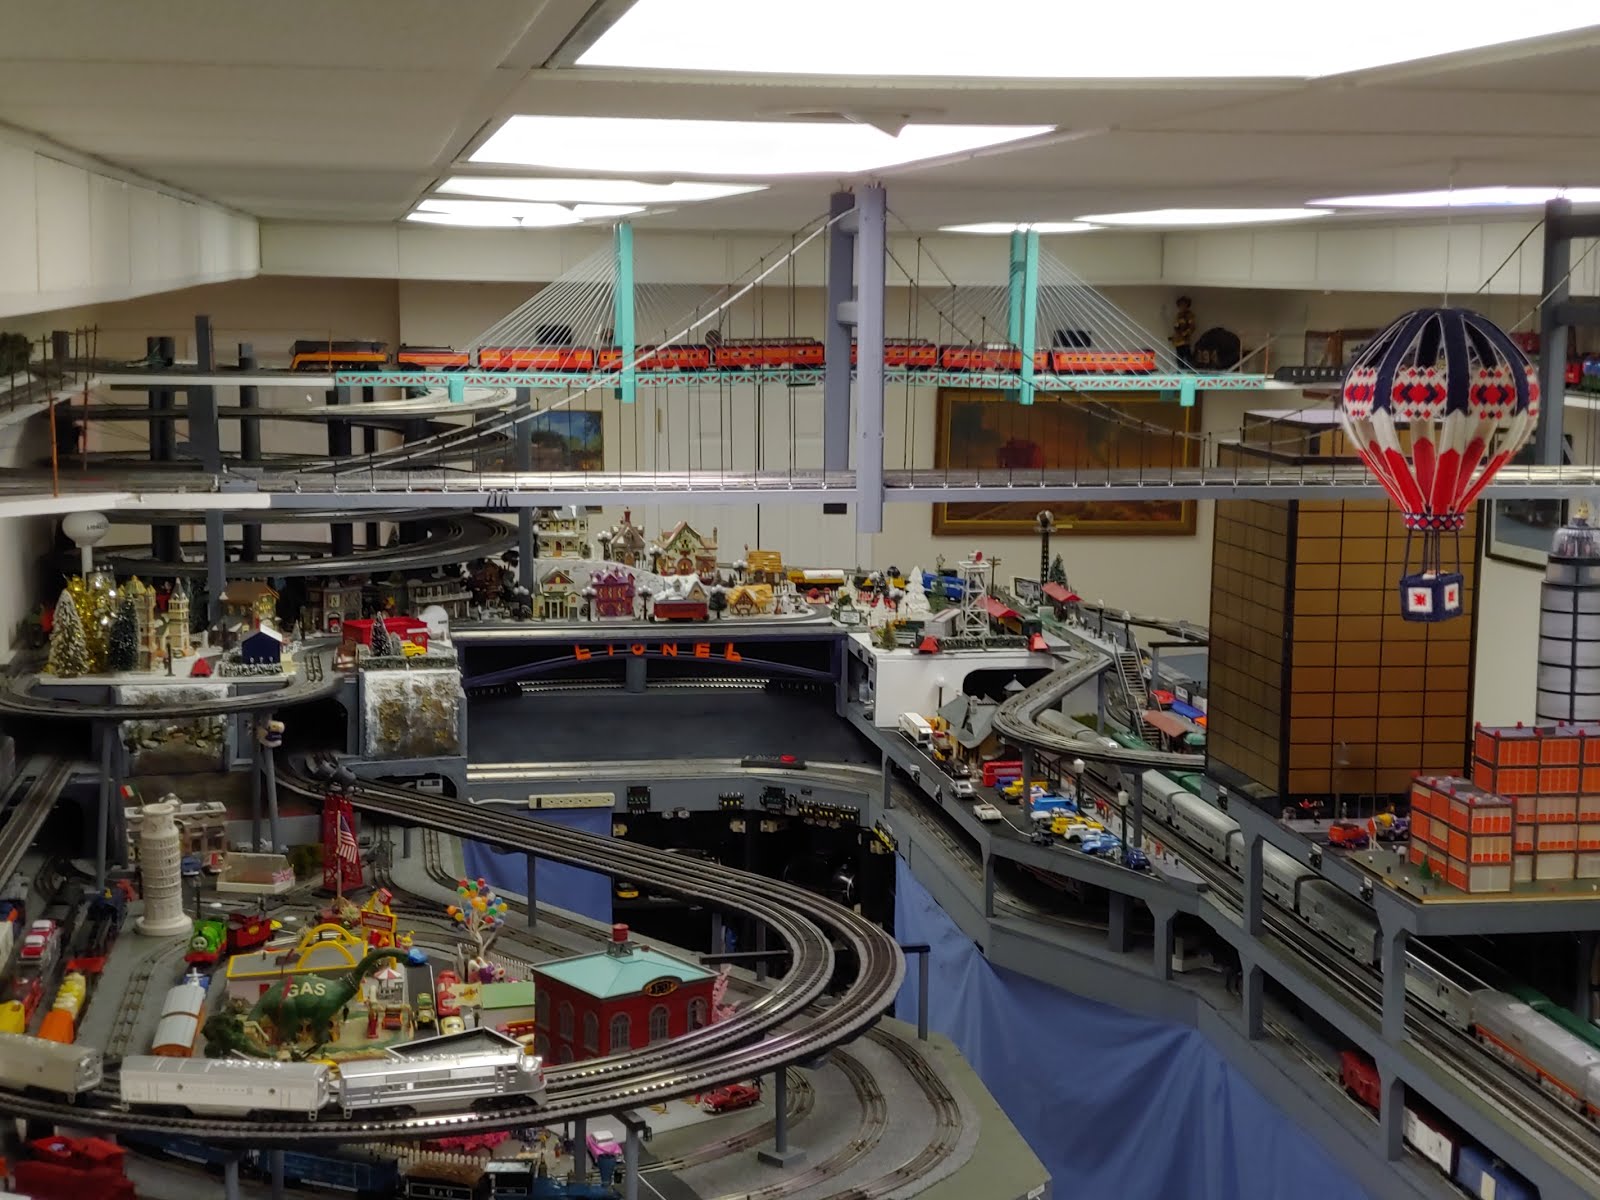
Overall view of layout, showing planned area on left also.

Friday, July 3, 2009

NTS & B Winter (Tinseltown) level power control

After much consideration, I decided to mount the winter level switch track buttons and track power (green) and accessory(yellow) power switches directly to the front of the layout above the transformers. I considered mounting them on a separate piece of wood, and then connecting that to the front of the layout, but could see no advantage to doing that, and it would be more work/materials/time. The track power and switch track button wiring is complete. The layout of the switches mirrors the track layout, with the left button and 2 power switches controlling the passing siding on the left end of the loop, and the right 2 switches and buttons controlling the right end of the loop. The 2 small sidings on the right side are actually powered by the rightmost switch, since only 1 and 2 cars can fit in the sidings. Then next switch in controls power to the long lead in track. The accessory controls will be wired as the accessories are added. The tan devices under the switches and by the transformer are Lionel #91 fast acting adjustable circuit breakers, and connected to track power. Since I have started using them, there has been little to none unexpected smoke.


Friday, June 26, 2009

NTS & B Trackwork finished on winter (Tinseltown) layer

The track is finally finished on the winter layer, which will eventually contain the village of Tinseltown. The large overhanging loop at the helix end is cut out, and made so that it can be removed by pulling out 1 pin (currently 1 screw). The Arch Bridge is also set up to be removed by simply lifting it out vertically. The track is all wired and connected to temporary switches near the winter level ZW. They will be made permanent when I figure out where I am going to put the panel. I also have placed and have power to the first 2 powered operating accessories, the Lionel Maiden Rescue Shack, and the Lionel Reindeer loader. Since I now have track power on the loop and the sidings, I also pulled out my K-Line operating Kandy Kane Dump Car, and the old 1956 Lionel #3250 Operating Search Light Car. See pictures below and YouTube links for videos of the accessories.


Removable raised track. Supports will be added later when lower track is finished.

Small siding and Lionel 260 Illuminated Bumper (1951-1969)


Lionel 6-24154 Maiden Rescue Shack (2003)

Lionel 6-36704 Animated Reindeer Corral (2002)

K-Line 7137401 Operating KandyKane Dump Car (Around 2003)
Lionel 3520 Operating Search Light Car (1952-1953)
http://www.youtube.com/watch?v=uEmJg-eGiww

Wednesday, June 3, 2009

Williams F3 Electronics pictures for Bachman

I recently bought an old Williams F3, with the idea of modifing the reverse unit so it would only go forwards. Williams, and now the Bachman, site have the schematic available for that purpose. The only problem is, is that it is a different card. This is a temporary post so the 'Bachman' can look at these pictures to figure out what revision card this is.


Sunday, April 26, 2009

NTS & B The case of the misbehaving Santa and Snowman

As you might have guessed, this layout is a toy train layout, not a detailed sceniced one, and therefore will contain many operating accessories. The Santa and Snowman car presented many challenges when adding it to the layout. It was so tall, that Santa wouldn’t clear the bottom of the Helix. If I adjusted the trestle so Santa would clear the Helix, the trestle ramp was so low that my poor break man was almost beheaded (pictures 1 and 2). It was also so wide that it presented problems with the siding next to it. Since this is the first accessory I am adding, it was particuallary discouraging to think that I could not use it on the layout. I played with different ways to build a new trestle, but couldn't come up with a way unil I happened to be in Lowe's deck parts area. They had some heavy metal strapping about 2 foot long, by 1 inch wide. I ended up making a new taller trestle, and rerouting the passing track under the helix to exit later in the loop to get everything to clear. The last 2 pictures show the new trestle, which will be painted later. Check out my youtube movie at http://www.youtube.com/watch?v=HgPzHFPyLNg to see it in action.


Friday, April 10, 2009

NTS & B Helix Loop Complete

The helix loop is complete for now, with lights and scenery installed. Maybe in a few years I will add more detail, but for now it is done. A couple pictures of the towns on the North Pole (ceiling) section of the loop.
Picture of overall Helix loop from bottom loop to North Pole

The stop at the Iceburg community. That boy shouldn't
be making a tunnel so close to the tracks

The bridge leaving the North Pole

The North Pole

The North Pole Yard.

Santa's Reindeer barn and training facility

Santa's taking a practice run

Friday, March 13, 2009

NTS & B Arch Bridge

I needed 1 more bridge, 4 foot long to cross the center of the layout. I decided on either an arch bridge, or a deck bridge with minimum supports so the area behind and underneath would not be blocked. My daughter Jennifer surprised me on my birthday by coming in with her family for a visit. I was showing her and her fiance Bruce what I had in mind for a bridge, so they decided to build it as a birthday present. Bruce cut the letters from a 2x4 using a hand held saber saw. The deck and ends were 1x4 pine, and the arches were made from some plastic 1/2 x 3/4 trim I had bought for another uses. Kathy suggested the Lionel colors. Jennifer did a great job with the paint, and now I have the bridge :) My son Scott and his wife Maria also visited, and Scott contributed the following pictures.