Saturday, October 27, 2007
NTS & B Subway loop benchwork about finished
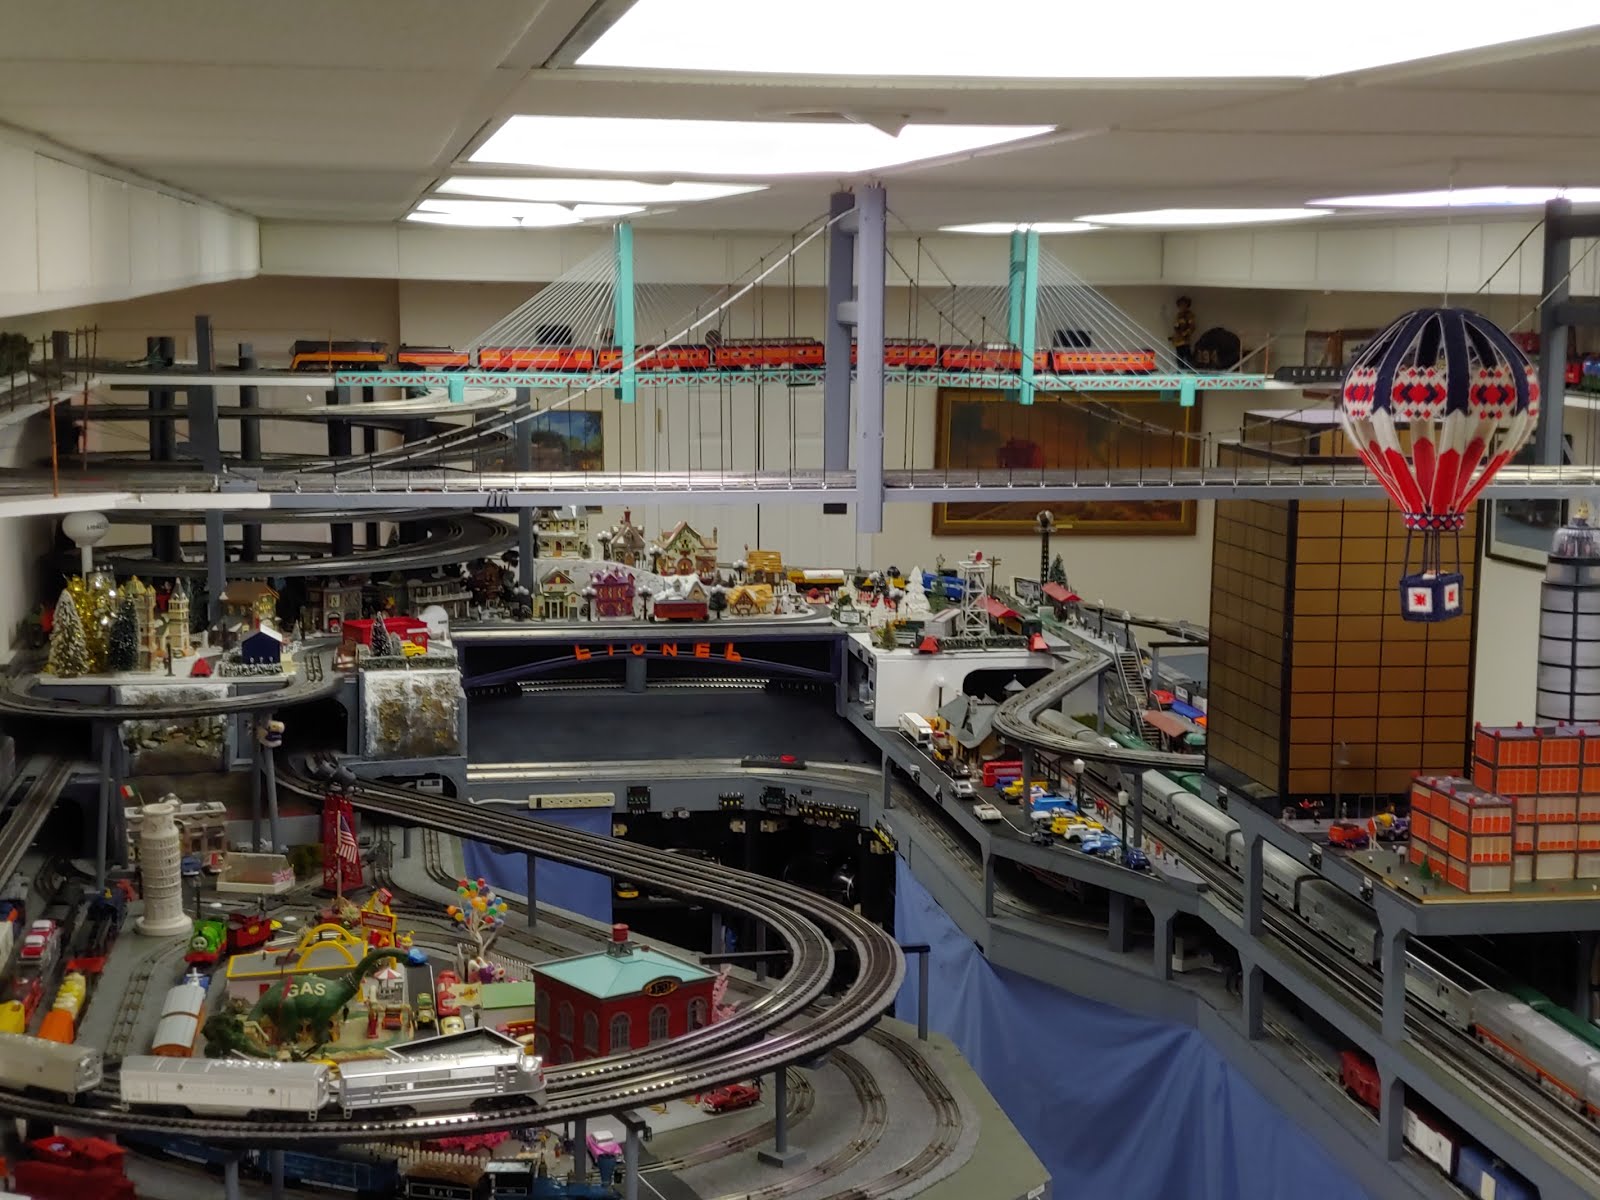
Oct 2007 - Most of the bench work is complete for the subway loops. The outside loop is temporarily laid in and tested. Some of inside loop track is temporarily laid in as well. The track will be a combination of Lionel and Marx. The outside loop will contain Lionel 0-54 and 0-42 curves. The inside loop will be 0-42 and Marx 0-34 curves. There will be no switch tracks on these loops. The loops will be wired with 2 station stops on each loop, with the engines reversing units locked out. The train on one loop will control the train stops on the other loop. There will also be switches wired in to override the stops, for TMCC and conventional train operation. There will be another layer of bench work over most of this track, with only one small section not being covered. The middle of the subway table does not have plywood on it, to allow access to the upper layers.


Friday, September 21, 2007
NTS & B The first leg
Tuesday, September 18, 2007
NTS & B Helix getting painted
Sep 2007 - This picture shows the helix on its side, in relation to the door way behind it. The outside diameter of the plywood is almost 6 foot (58 inches). Lowes picked out the paint color for me. I went looking for a concrete gray, and they had a premixed 'oops' quart for $2. Of course, the next gallon was considerably more expensive.
Monday, September 3, 2007
NTS & B Second section
Sep 2008 - First table of second (mainline) layer is added. Table is 1x2 frame, covered by 1/2 in 4 ply plywood. Size is 8 ft x 1 ft. It is fastened to the bottom layer with 1x4 and 1x2 risers.
Sunday, September 2, 2007
NTS & B FIrst section
Sept 2007 - The carpet is in. The layout is finally officially under way. This is the first table created specifically for the planned layout. The table is made of 1x4 frame, covered with 1/2 inch 4 ply plywood. Size is 8 ft by 1 ft,

Monday, August 13, 2007
NTS & B Train room finished
Aug 2007 - Room is finally finished. Ceiling, wall, carpet, and doors ! FInally ready to start thinking about building the layout. Room size is 15 ft 6 inches x 40 ft


Monday, August 6, 2007
NTS & B Layout plan taped on floor
August 2007 - Room is finally finished, minus the carpet. Taped outline of layout on the floor to get better feel of isles. Outside isle was a little tight, so ended up narrowing the layout 6 and stretching the length 6 inches to get better clearances. Of course, now model is off a bit :(
Friday, March 23, 2007
NTS & B Layout Model
March 2007. - These pictures are of a scale model of the layout. Since the layout is multi layered, I needed a model so I could visualize access from underneath the layout. When all is said and done, the full layout should be look pretty close to this model. The model was created using the track plan designed in the RR-Track Software Version 4.02. The track plan was created on multiple drawing layers, with each track and table level being on different layers. Each layer was then printed to the same scale. The scale prints were then glued to thin foam board. After the glue dried, the layers were cut out using sissors and an Exacto knife, and then hot-glued together. I even used the model to help design the table framework to ensure clearance from underneath to the upper levels. This framework was also cut out, and glued to the model. The model was printed at 1 inch=1 foot, so the model 12.5 inches x 32 inches. while the layout will be app 12.5 ft wide at the widest end (actual 15 1/2 ft on ceiling), and 32ft long.


Saturday, February 10, 2007
NTS & B Final RR Track Concept views
Feb 2007 - These are the final (7th version) concept views of the planned layout. They show the track plan, and the placement of the various accessories. Room is 40 ft by 15 ft 6 inches. Layout is app 12 ft wide at the widest end (actual 15 1/2 ft on ceiling), and 31 ft 6 inches long. The trackplan was created using RR-Track Version 4.02. The views below were then created using the 3D feature of the program.


Friday, August 11, 2006
NTS & B Train room ceiling finished
Aug 2006 - Finally finished drop ceiling, after only working on it every weekend for a month. OK, so the directions say that a typical room should take about 6 hours for a novice, my room was a little larger :( Directions said typical room had 4 hangers in the center of the room. Mine had over 40 hangers, 68 custom made (by me) L channels, and over 400 pop rivets. Room size is 40 ft by 15 ft 8 inches. Still have doors, carpet, and trim to finish.
Subscribe to:
Posts (Atom)